
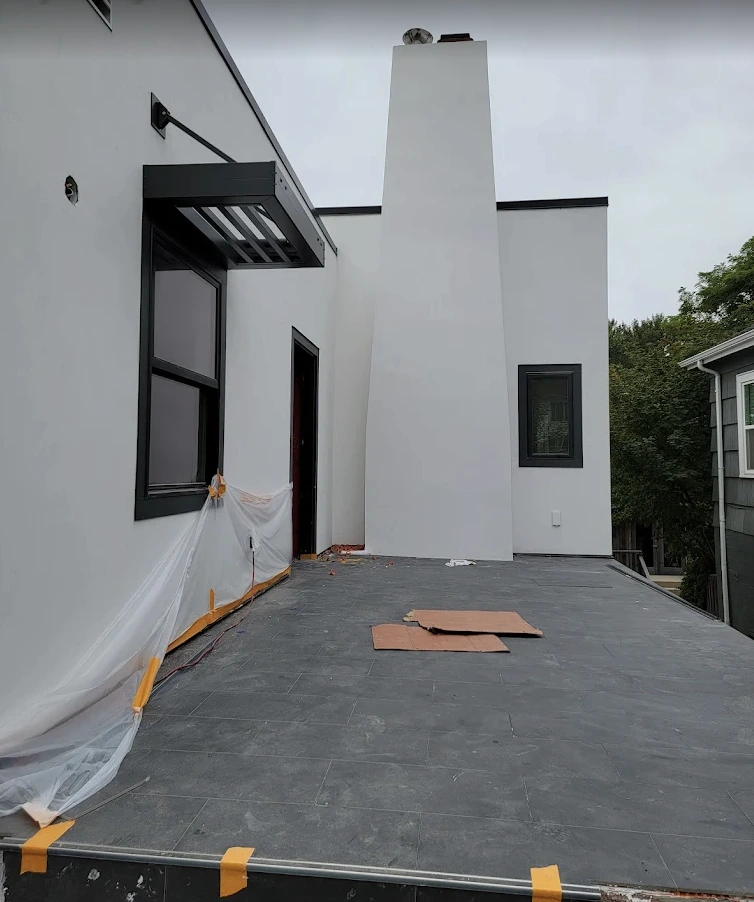
Traditional stucco is applied in three stages, each serving a specific structural and aesthetic purpose. Understanding these stages helps Austin homeowners know what to expect during installation, why the process takes time, and how to evaluate the quality of the work.
Stage 1: The Scratch Coat
The scratch coat is the first layer of stucco applied directly over metal lath that has been fastened to the wall sheathing with a moisture barrier underneath. This coat is the foundation of the entire stucco system.
**What it does:** - Bonds to the metal lath, creating the mechanical connection between the stucco and the wall - Provides a rough, rigid base for the next coat - Fills the gaps in the lath and creates a uniform surface
**How it is applied:** The scratch coat is a mixture of Portland cement, sand, lime, and water, troweled onto the lath at a thickness of roughly 3/8 inch. Once applied, the surface is scored with horizontal lines using a notched tool — this is where the name "scratch coat" comes from. The grooves give the next coat something to grip.
**Cure time:** The scratch coat must cure for a minimum of 48 hours before the brown coat is applied. During Austin's hot summers, the coat needs to be kept damp (misted with water) to prevent it from drying too fast and cracking. Proper curing is one of the most important steps in the entire process.
Stage 2: The Brown Coat
The brown coat is the second layer, applied over the cured scratch coat. This is the coat that establishes the wall's final plane — its flatness, straightness, and overall geometry.
**What it does:** - Builds the wall to its final thickness (the total system is typically 7/8 inch) - Creates a true, flat surface for the finish coat - Adds structural strength to the stucco system
**How it is applied:** The brown coat uses a similar cement, sand, and lime mixture as the scratch coat, troweled on at approximately 3/8 inch thick. The applicator uses long straightedges (darbies and rods) to float the surface flat and plumb. This is the most skill-intensive stage — any waves, bulges, or unevenness in the brown coat will show through in the finish.
**Cure time:** The brown coat requires a minimum of 7 days of curing before the finish coat is applied. In practice, many contractors allow longer — especially during Austin summers when rapid drying can compromise the cure. Moist-curing (periodic misting) continues throughout this period.
Stage 3: The Finish Coat
The finish coat is the visible surface layer — the part that determines how the stucco looks and feels. This is where the homeowner's choices about texture, color, and style come to life.
**What it does:** - Provides the final texture and color of the wall - Protects the underlying coats from weather and UV exposure - Creates the home's curb appeal
**How it is applied:** The finish coat can be cement-based or acrylic-based, depending on the homeowner's preference. It is applied at approximately 1/8 inch thick and worked with various tools to achieve the desired texture — trowels for smooth finishes, floats for sand finishes, or specialized techniques for dash, lace, and skip-trowel patterns.
Common finish textures in Austin include: - **Sand float** (20/30 or 30/30) — the most popular residential choice - **Smooth (Santa Barbara)** — clean, modern look - **Dash** — heavier texture with a rougher profile - **Skip trowel** — irregular, hand-textured pattern
For a detailed comparison of sand finishes, see our guide on 20/30 vs. 30/30 stucco finishes.
Why Three Coats Matter
Each coat serves a purpose that cannot be shortcut:
- **Skip the scratch coat** and the stucco has no mechanical bond to the wall
- **Rush the brown coat** and the wall surface will be wavy and uneven
- **Apply the finish too soon** and it will crack as the underlying coats continue to shrink
The 3-coat process typically takes 10 to 14 days from start to finish, assuming proper cure times. Cheaper 1-coat systems compress this into a single base coat plus a finish coat, which is faster but sacrifices thickness and long-term durability.
Austin Climate Considerations
Central Texas weather makes proper curing both more important and more challenging. Summer temperatures above 100 degrees can dry stucco too rapidly, causing shrinkage cracks. Experienced Austin stucco contractors manage this by:
- Scheduling application for early morning hours
- Misting freshly applied coats throughout the day
- Using curing compounds when conditions are extreme
- Avoiding application during rain or when temperatures drop below 40 degrees (rare in Austin but possible in winter)
Learn More
At Star Stucco of Austin, every residential project follows the full 3-coat process unless the homeowner specifically requests a 1-coat system. Our OSHA-trained crews have completed over 9,000 projects across Central Texas. Learn more about our stucco installation process or explore the best stucco finishes for Austin homes. Contact us for a free estimate or call (512) 706-9699.
Frequently Asked Questions
How long does 3-coat stucco take to install?
A full 3-coat stucco installation typically takes 10 to 14 days, including cure times between coats. The scratch coat cures for at least 48 hours, the brown coat cures for at least 7 days, and the finish coat is applied last. Rushing the cure times leads to cracking and failure.
What is the scratch coat in stucco?
The scratch coat is the first layer of stucco, applied directly over metal lath. It bonds the stucco to the wall and is scored with horizontal grooves to give the next coat a surface to grip. It must cure for at least 48 hours before the brown coat is applied.
Can you skip a coat in stucco application?
No. Each of the three coats serves a specific structural purpose. Skipping the scratch coat eliminates the mechanical bond. Rushing the brown coat causes an uneven surface. Applying the finish too soon leads to cracking. All three coats and their cure times are essential for a lasting stucco exterior.